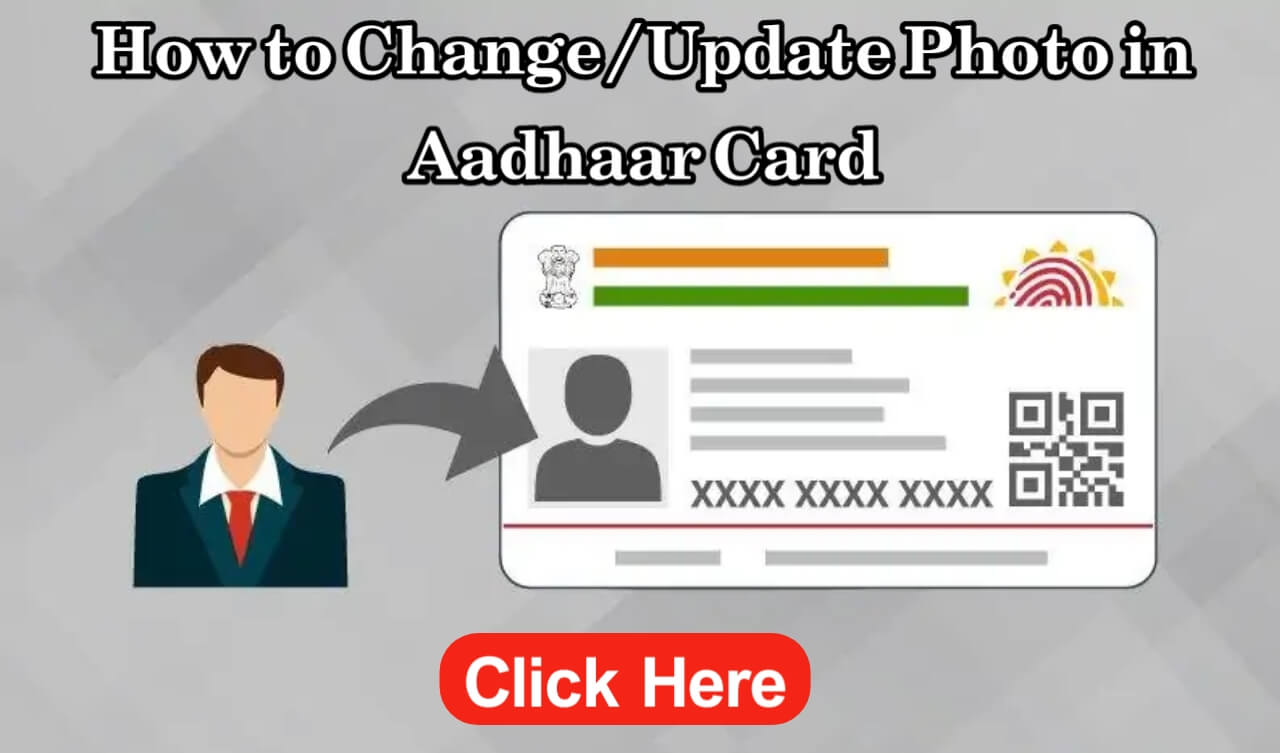
Changing Your Aadhaar Photo at an Enrolment Centre
Step 1: Visit Aadhaar Enrolment Centre
Head to your nearest Aadhaar Enrolment Centre or Aadhaar Sewa Kendra.
Step 2: Download and Fill the Form
Download the Aadhaar Enrolment/Correction/Update Form from UIDAI’s website. Fill it diligently with your updated details.
Step 3: Submit Form and Provide Biometrics
Submit the filled form to the executive at the centre. Provide your biometric details, and the executive will capture your live photograph.
Step 4: Pay a Fee
Pay a fee of Rs. 100 to complete the update process. You will receive an Acknowledgement slip with the Update Request Number (URN).
Downloading the Updated Aadhaar Card Online
Step 1: Visit UIDAI Website
Go to the official Aadhaar website at https://uidai.gov.in/.
Step 2: Access ‘Download Aadhaar’
Navigate to the ‘My Aadhaar’ section and click on ‘Download Aadhaar’. Alternatively, you can use this link: https://eaadhaar.uidai.gov.in/.
Step 3: Enter Your Details
Enter your Aadhaar Number, Enrolment ID, or Virtual ID. Provide the captcha and click ‘Send OTP’.
Step 4: Verify and Download
Enter the OTP sent to your registered mobile number. Tick the box if you want a Masked Aadhaar Card. Click ‘Verify & Download’ to get a PDF of your e-Aadhaar card.
Important Points to Note:
- No documents are required for changing the photo in your Aadhaar card.
- The executive at the centre will capture your photograph using a webcam.
- It might take up to 30 days for the updated details to reflect in Aadhaar.
- Check the Aadhaar update status online using the provided URN.
- Changing the photo in Aadhaar cannot be done through the Self Service Update Portal (SSUP).